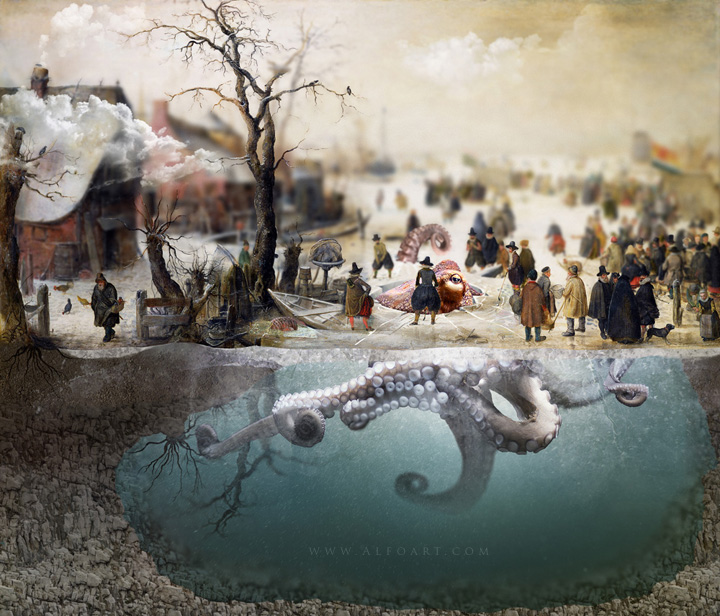
Photoshop Old Oil Painting Photo Manipulation Techniques with Photoshop Tutorial
Click to enlarge the image
 .
.
Used images:
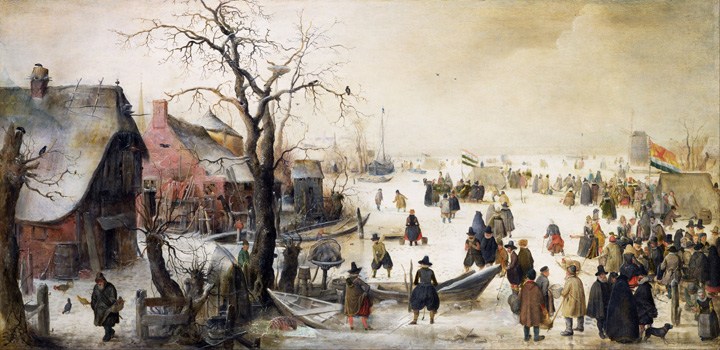
- Hendrik Avercamp - Winter Scene on a Canal - oil painting.
- Download layered Clouds - clouds on transparent background
- Textures Patterns - Patterns for the underwater part. Images from
- http://www.cgtextures.com - 1, 2, 3, 4.
- Octopus Tentacle
- Octopus
- Water bubbles
- Broken Glass for ice hole - 1, 2.
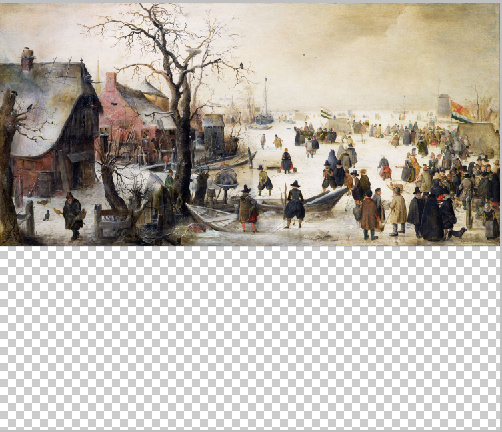
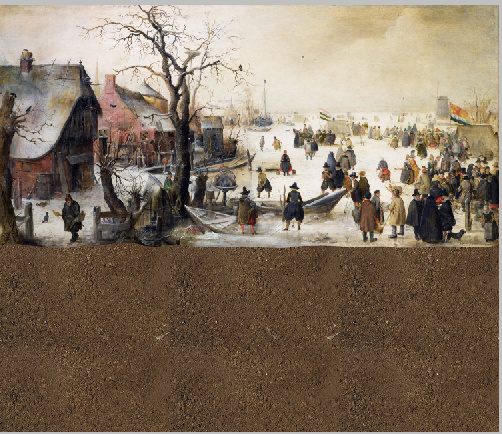
Open painting image, adjust resolution - 72px/inch and width - 3000px.
You may choose different size, but some tutorial settings are depends of image
size.
Add
bottom space, go to Image > Canvas Size

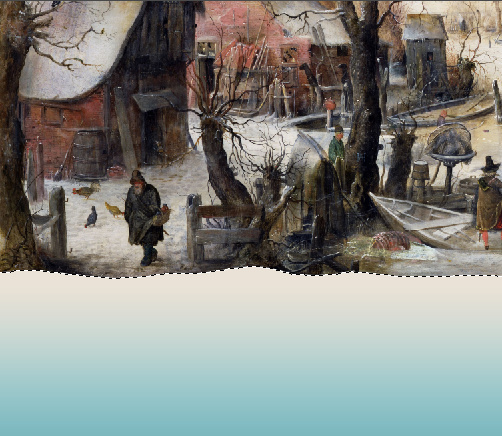
- Create a new layer below the painting layer (place all new layers for underwater part below the original painting).
- Draw the large rectangular, it should cover all empty space below the painting.
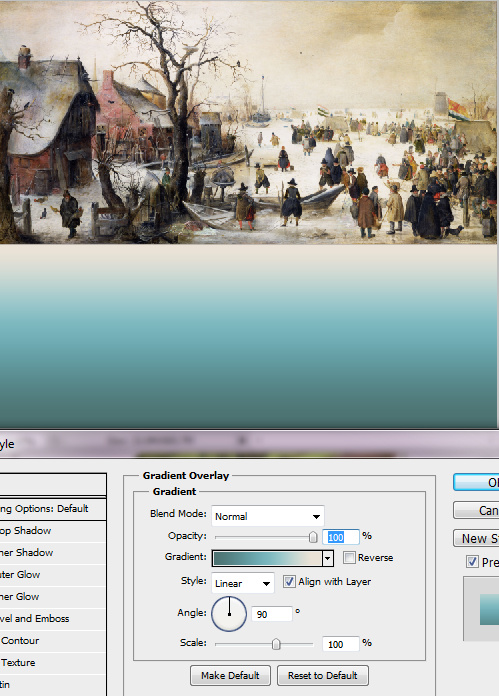
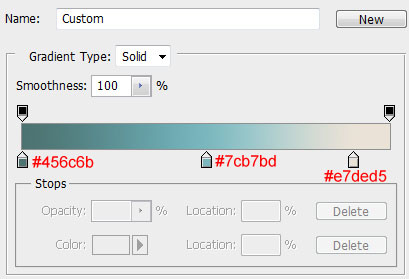
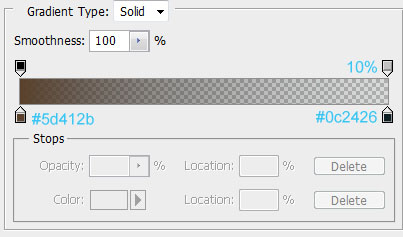
- Add gradient to created bottom part
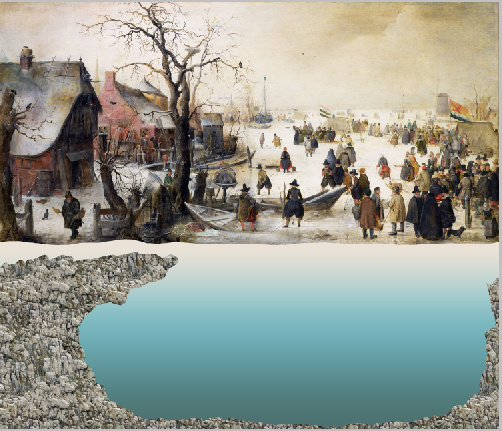
Add
relief to the bottom edge with Eraser Tool
Create a new rectangular above
gradient layer and fill it with stones pattern..

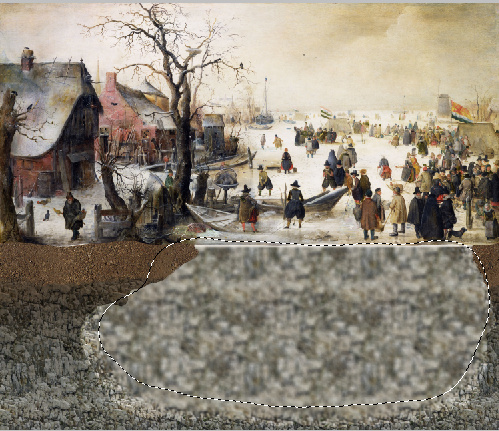
Add layer mask to the stoned layer.
Make Layer Mask active and erase central part to create under ice water space
with the soil left and right sides
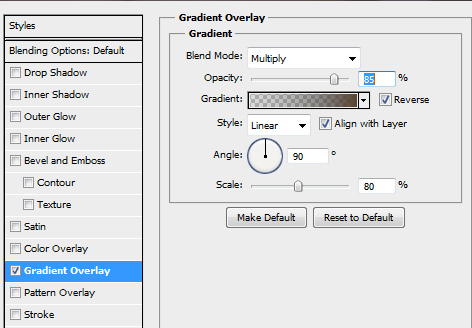
Add Gradient Overlay effect to this
layer.
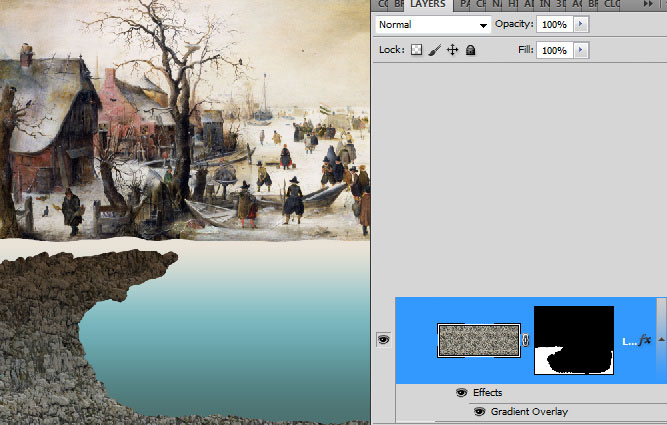
Use settings from screen shot below:
Add a new layer above stones, apply
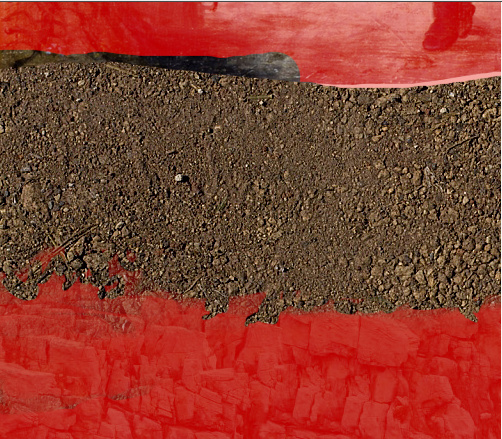
soil pattern to it
Erase all area marked with red
shade. Leave only top part of underground.
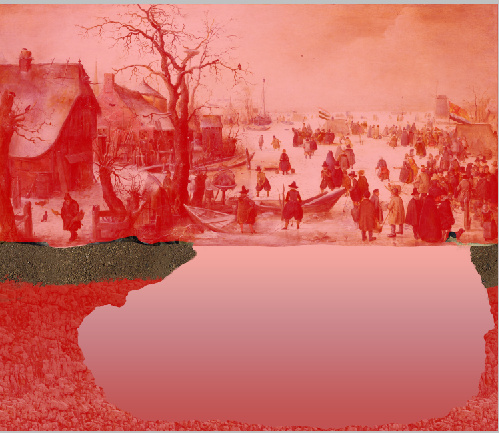
Use translucent, ragged(textured)
brush to create smooth edge between stones and soil
Return to the stones layer. Duplicate it. Make active bottom stones
layer and remove layer mask from this layer.
The central area should be covered with stones again.
Merge bottom stones patterned layer with the new empty layer.
Keep stoned layer active, click Quick Mask Mode . Fill all layer with
black color, you should have red shade .Then choose white round soft brush and
process the selected area just like on the image below.
Release Quick Mask, you should get pretty similar selection
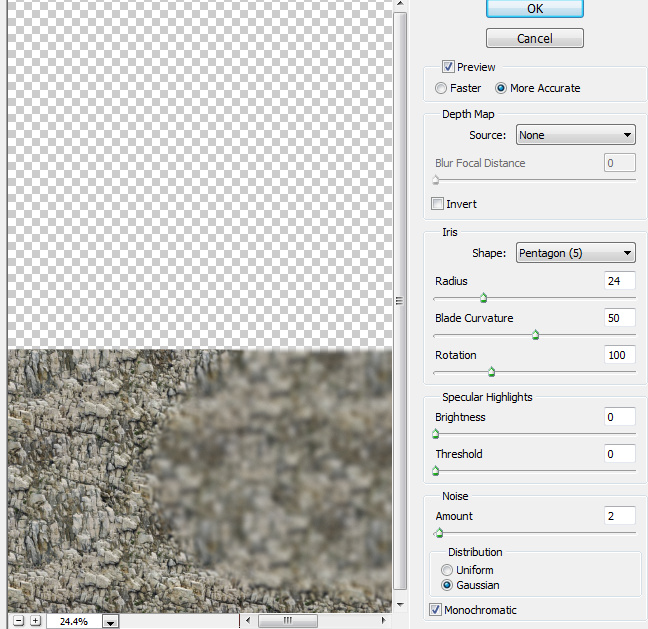
Go to Filter > Blur > Lens
Blur, add following settings
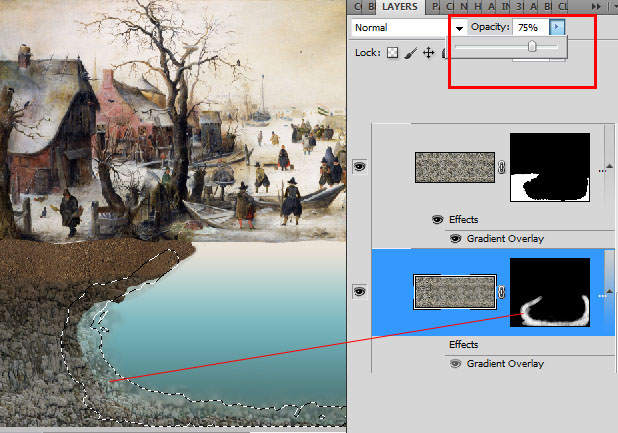
Add Layer Mask to bottom stones
patterned layer to erase central part and leave small area next to the original
stones layer. Use soft brush to create smooth contour.
Also apply Opacity 75 % to this
layer.
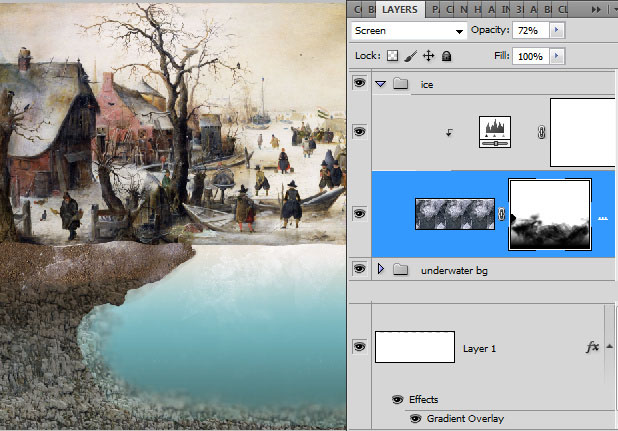
Create
a new layer above stones and brown soil. Fill it with the ice texture
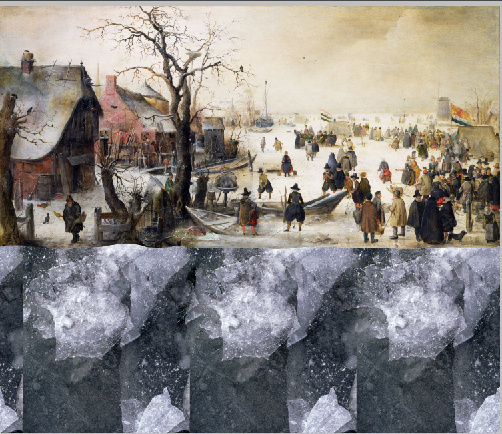
Apply
Screen Blending Mode to this layer, adjust Opacity around 70%.
Add "Levels" adjustment
layer (click icon  in
the bottom part of layers palette and choose "Levels" to add
adjustment layer).
in
the bottom part of layers palette and choose "Levels" to add
adjustment layer).
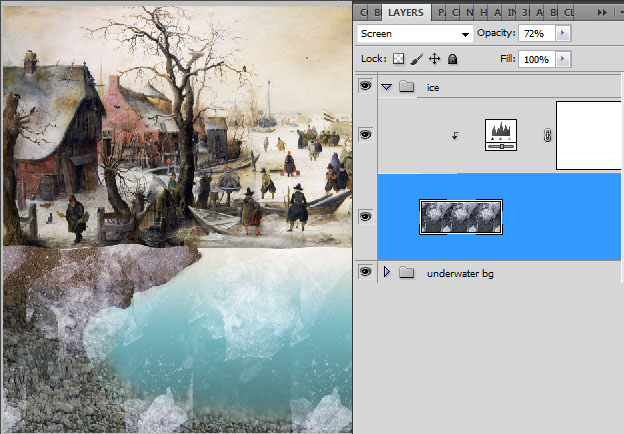
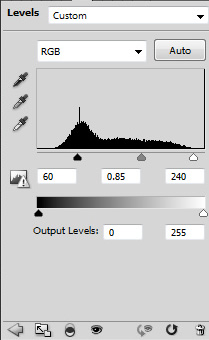
Use
Levels setting from screen shot below
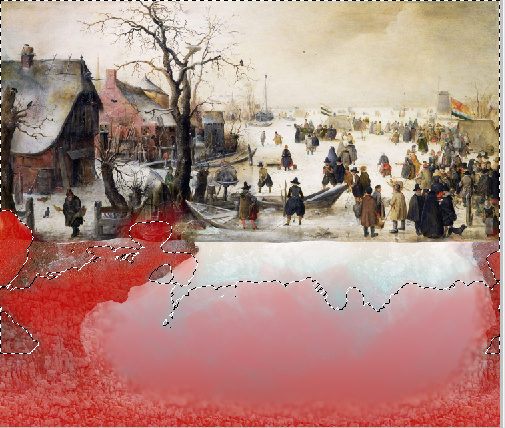
Add Layer Mask to the Ice layer and
erase red marked area, use large soft and textured brush (you may choose preset
Adobe Brushes such as "Chalk", "Spatter", "Texture 1,
2, 3.." or others)
You
should get something like this
Next Page
=================================
Photoshop Old Oil Painting Photo Manipulation Techniques with Photoshop Tutorial
![Photoshop Old Oil Painting Photo Manipulation Techniques with Photoshop Tutorial]() Reviewed by software
on
5:29 AM
Rating:
Reviewed by software
on
5:29 AM
Rating:
No comments: